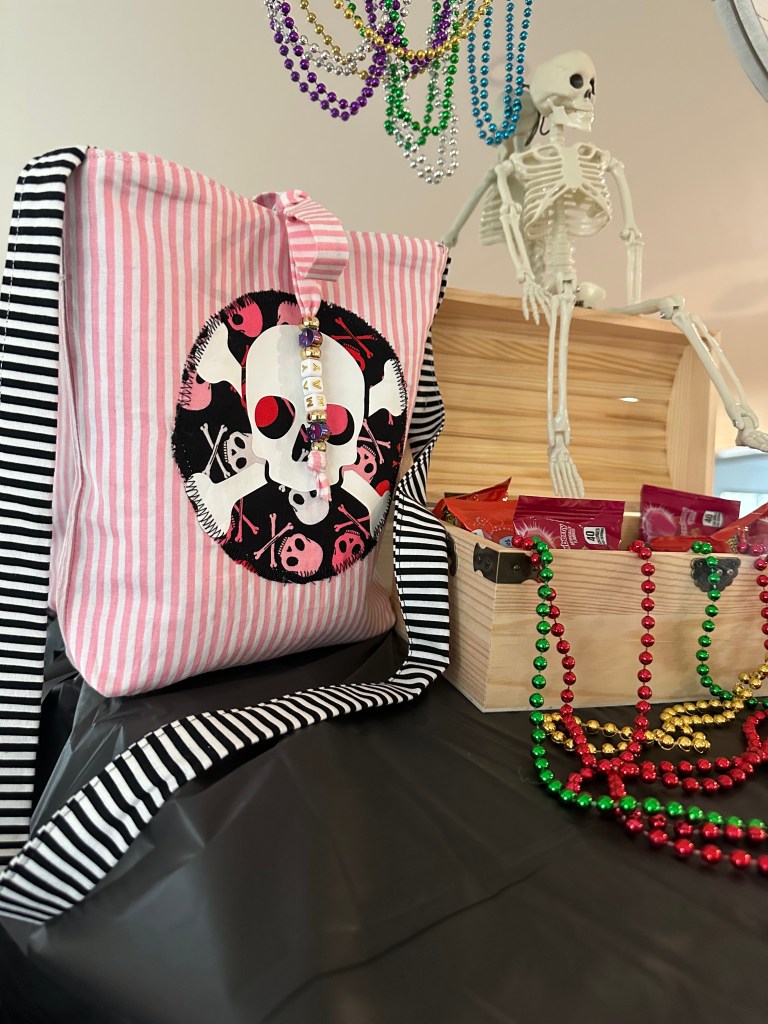
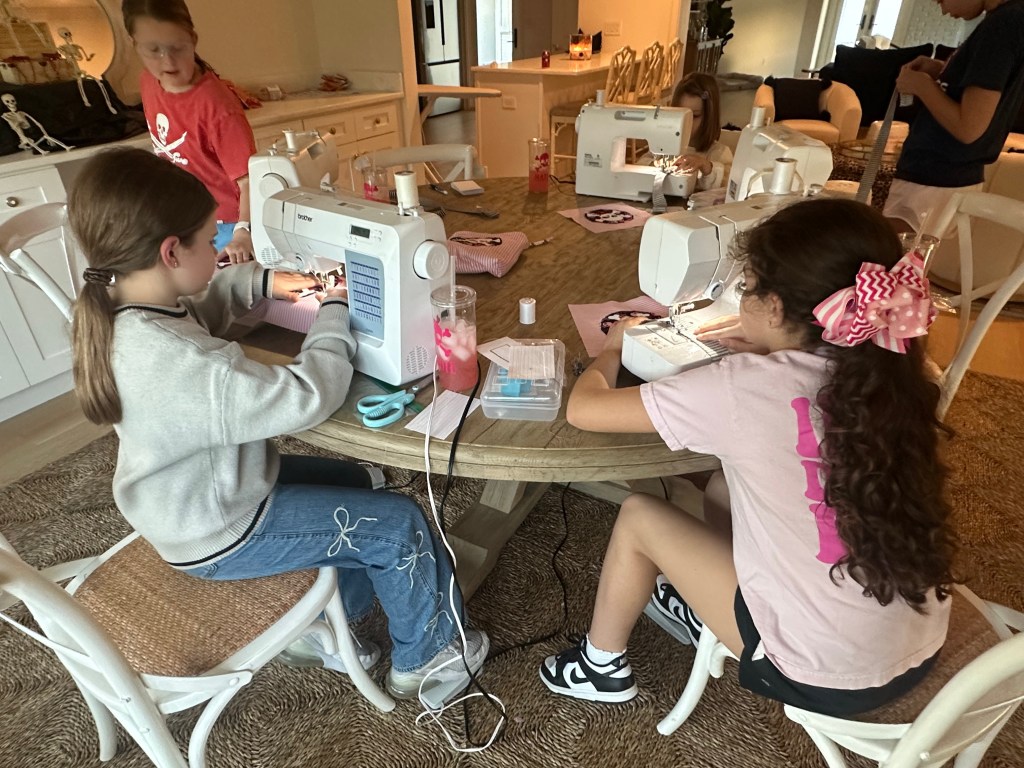
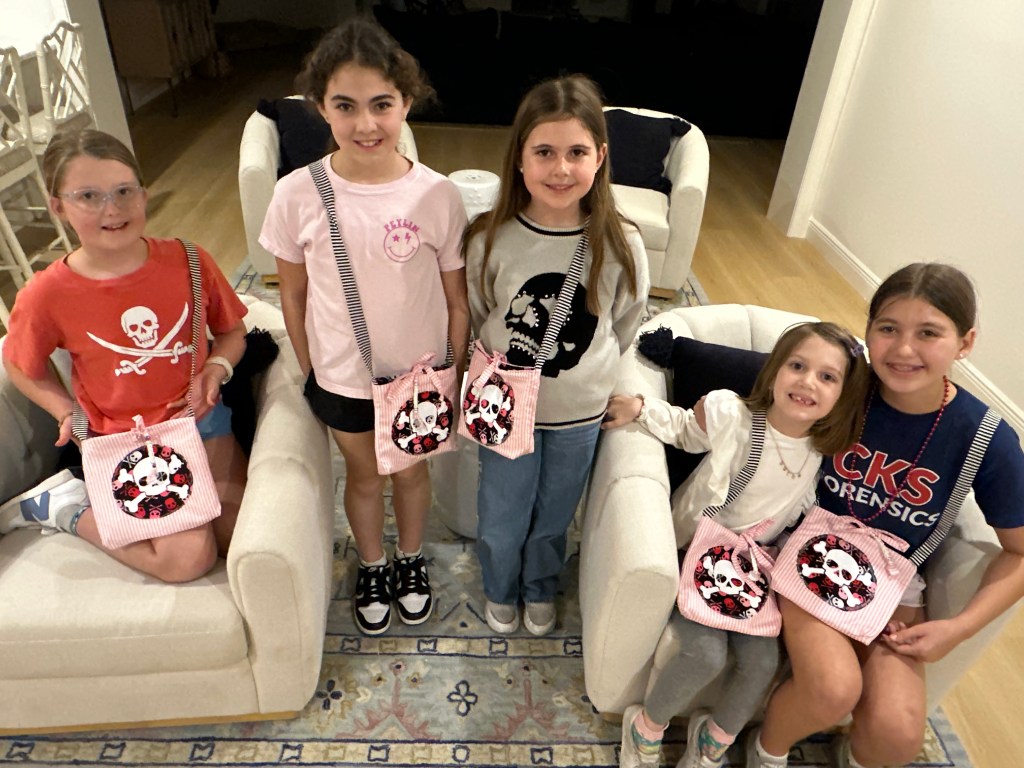
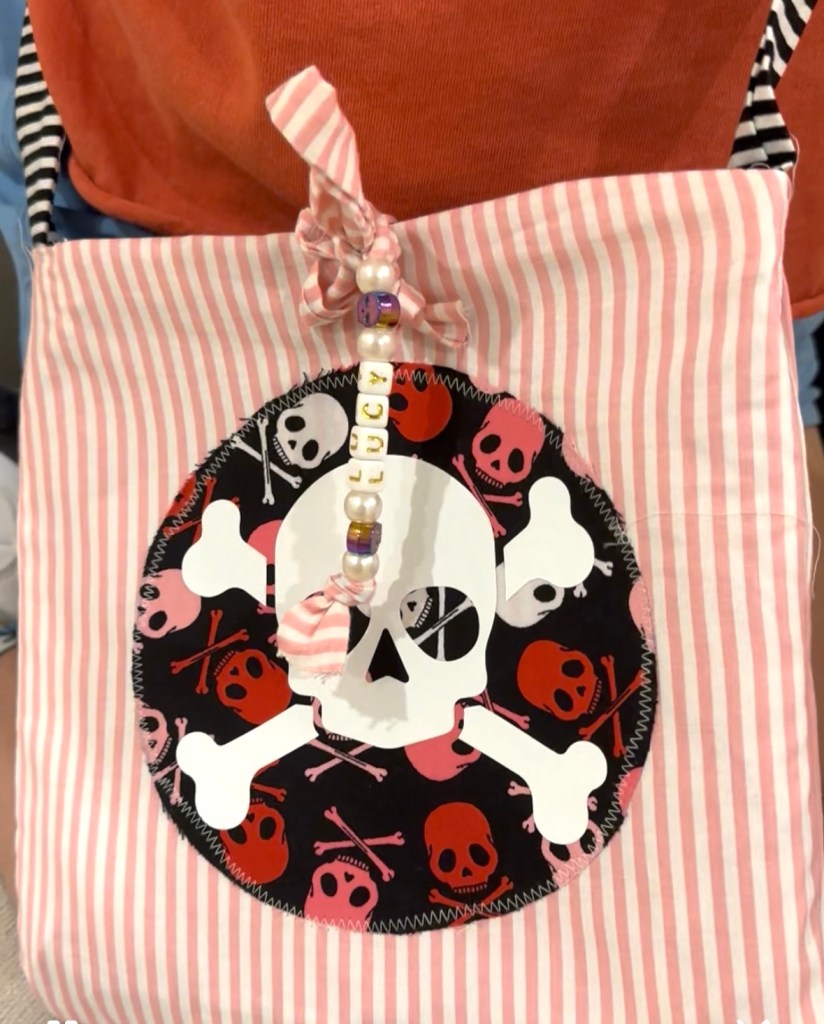
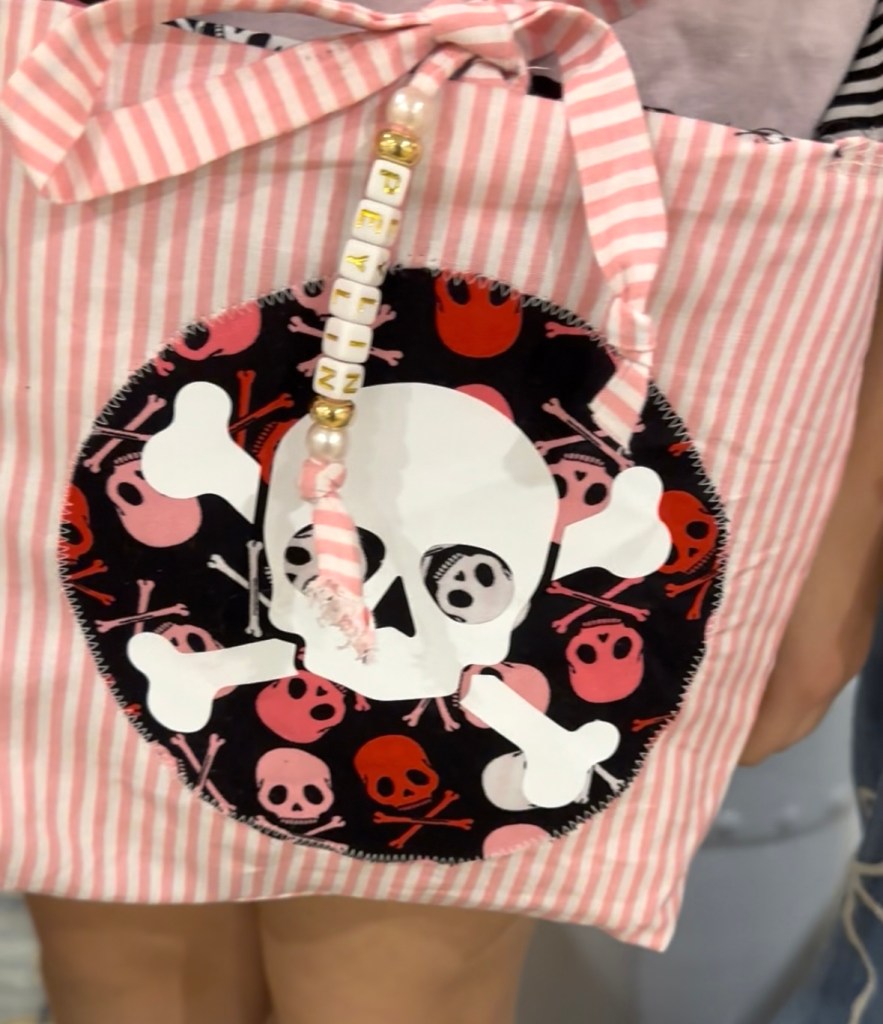
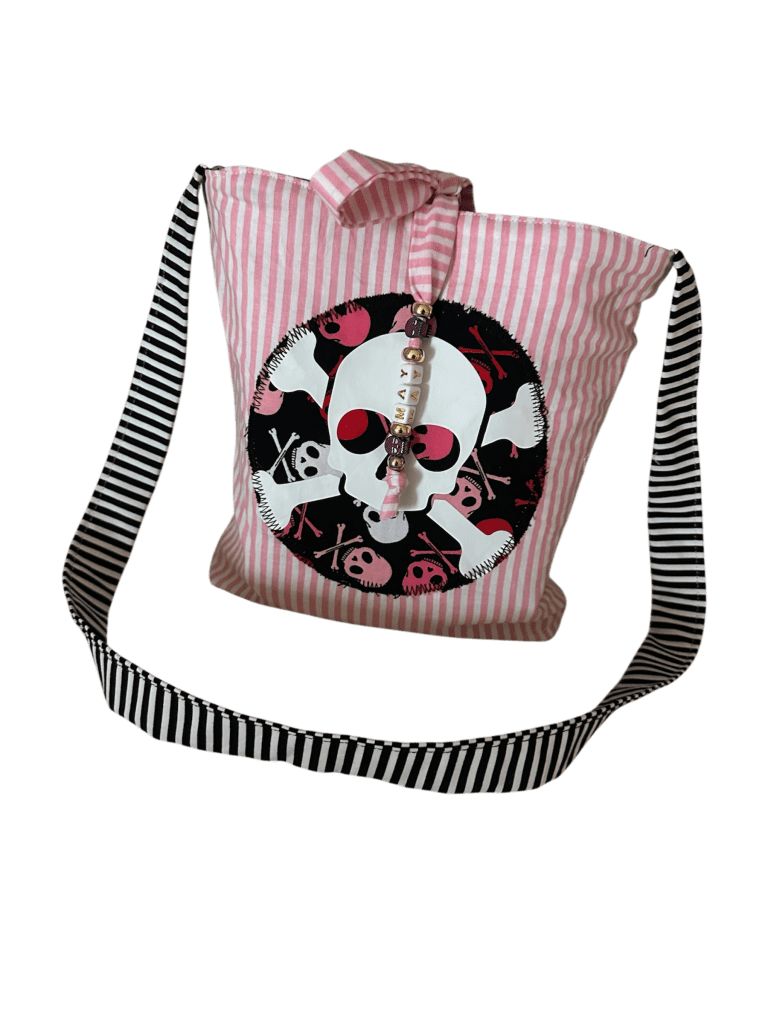
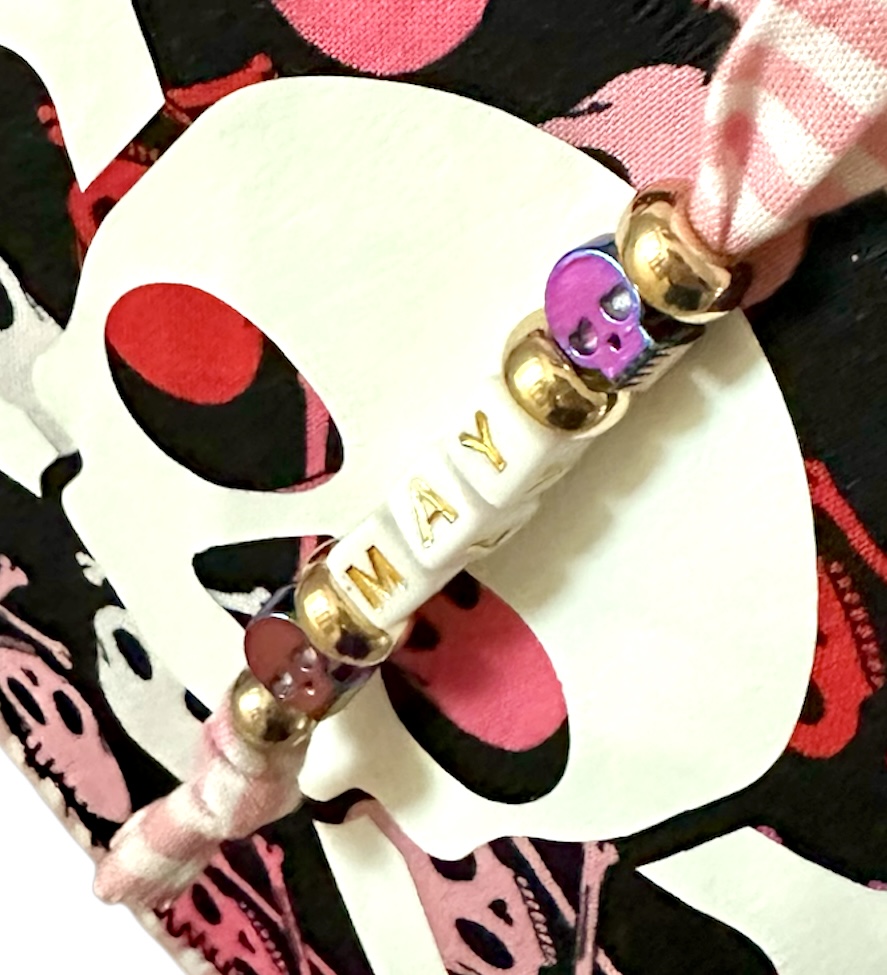
These girls are Gasparilla ready! We had so much fun stitching up their reversible crossbody bags. I loved the fabric combo and we even personalized them with our own version of a bag charm. Stay tuned for February’s party details and summer camp registration is just around the corner!
Christmas is out and Gasparilla season is in! This month’s sewing party is all about Gaspy! We are going to be stitching up a reversible crossbody bag to carry all our booty in!
Space is limited.
FULL
Date: Friday, January 23rd
Time: 4:30-7:30
Cost: $100
All supplies will be provided for this class as well as dinner and dessert! Venmo Sarah-Boyd-23 to register. Please don’t forget to put your email address in the message so additional details can be sent!
Make this Christmas a Handmade Christmas! We will stitch up some gifts for our loved ones (while you run some last minute holiday errands). Students will learn/practice basic sewing skills and how to operate their machine. I will provide all materials and machines. If your child has their own machine they are welcome to bring it and practice using it, but it is not required to have your own machine. Scroll down to view and learn how to register for our holiday sewing parties! Space is limited.We will make a total of 4 projects over the two days…
snack gift bags…make a snack bag and fill it with your favorite treat to give to someone you love for Christmas!
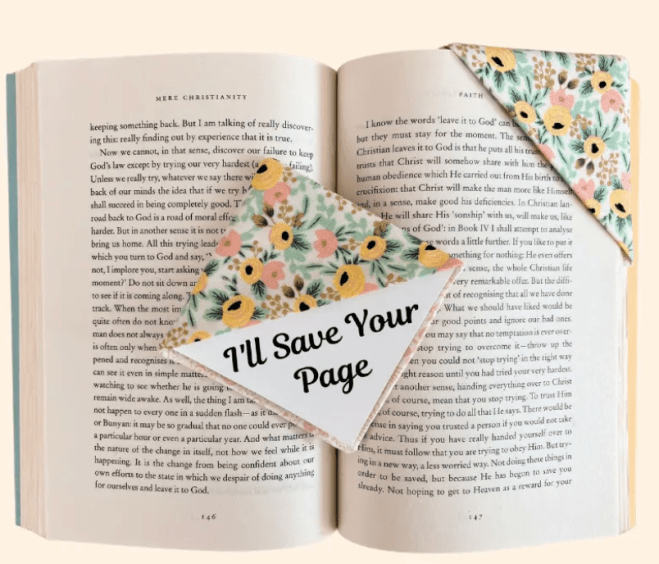
We will make book marks. The perfect give for the book lovers in your life!
Cord Organizer…the perfect stocking stuffer to keep your cords a bit more organized!
Coffee (or hot chocolate) cozies for those you love a latte!
Dates: December 22-23 9am-12pm
Cost: $160
You can register via Venmo. Once you register you will receive an email with more details!
It’s the most wonderful time of the year! I love hosting Christmas sewing parties! Sewing parties are meant to cater to all skill levels. Students learn basic sewing skills and how to operate their machine. I provide all materials and machines for sewing parties. If your child has their own machine they are welcome to bring it and practice using it, but it is not required to have your own machine. Scroll down to view and learn how to register for our holiday sewing parties! Space is limited.
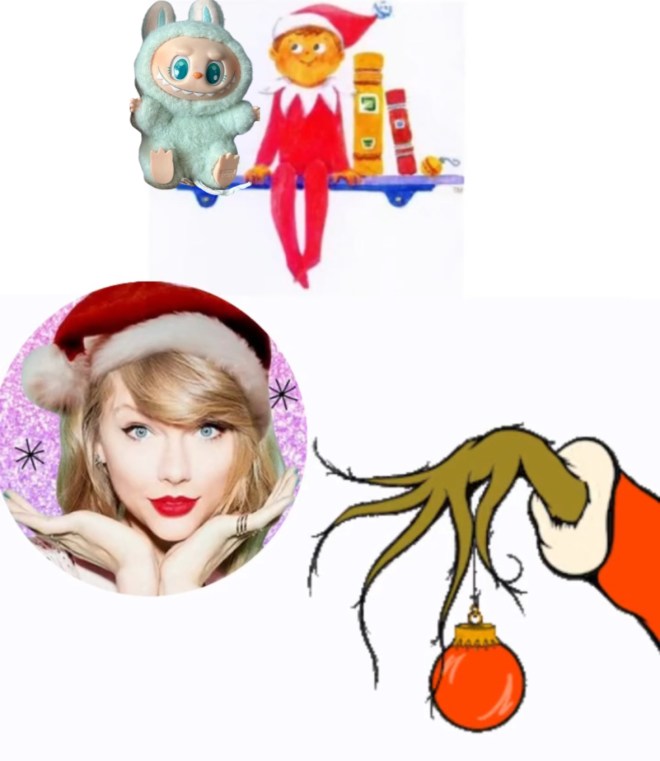
Monday, November 24th Elf on the Shelf/Grinch 9am-12 pm (FULL)
Friday, December 5th Elfufu 4:30pm-7:30pm (FULL)
*NEW DATE*: Saturday, December 13 (9am-12pm) registration closes 12/5.
When submitting payment please mention which party you wish for your child to attend and email address. If you register for a party and are unable to attend you are responsible for finding someone to take your child’s place.
Saturday, December 13 ELFUFU
registration closes 12/5
Time: 9am
Cost: $100
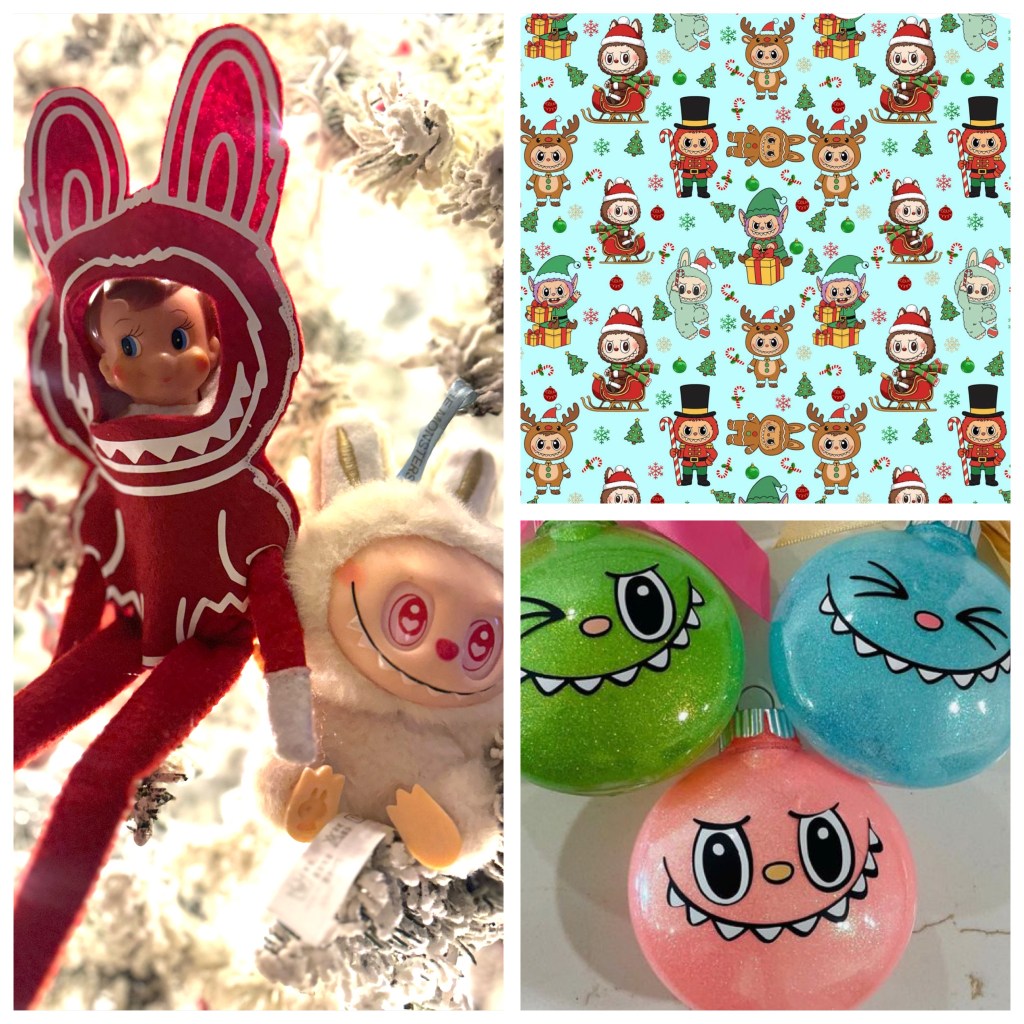
Come make a Labubu costume for your elf! He will have so much fun disguising himself as one of those crazy, adorable creatures. We will also make an ornament, hammock/pillow for our elf from adorable Christmas Labubu fabric! Breakfast will be served!
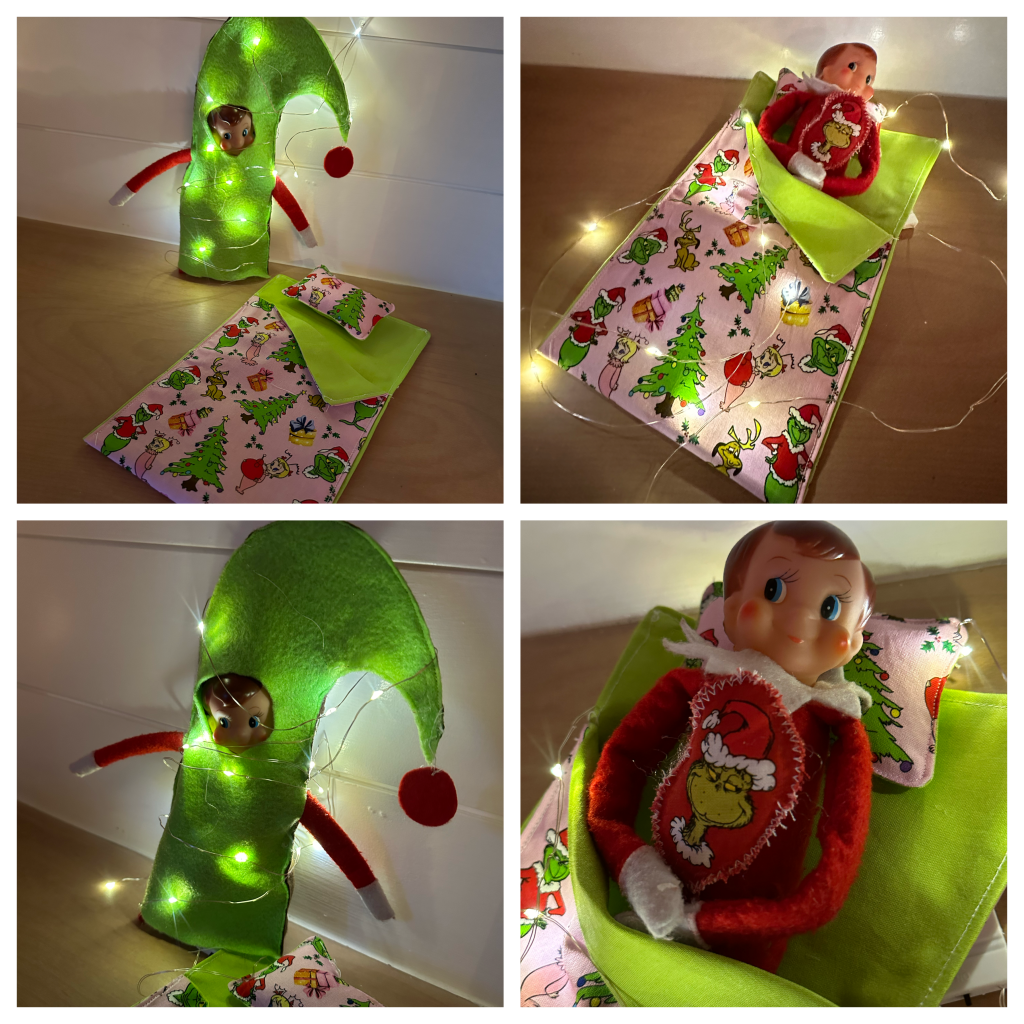
Monday, Nov 24 Come make a sleeping bag, pillow, and grinchmas tree costume to welcome our elf back from the NP! We will also make some grinches breakfast and beverages!
Time: 9am-12pm
Cost $100
FULL
Friday, December 5th Elfufu
Time 4:30pm-7:30pm
cost $100
FULL
Friday, December 5th, Come make a Labubu costume for your elf! He will have so much fun disguising himself as one of those crazy, adorable creatures. We will also make an ornament to go along with our Labubu theme! We will have pizza, snacks and beverages! Pictures of projects to come!
*If you are looking to register for a sewing party go here!*
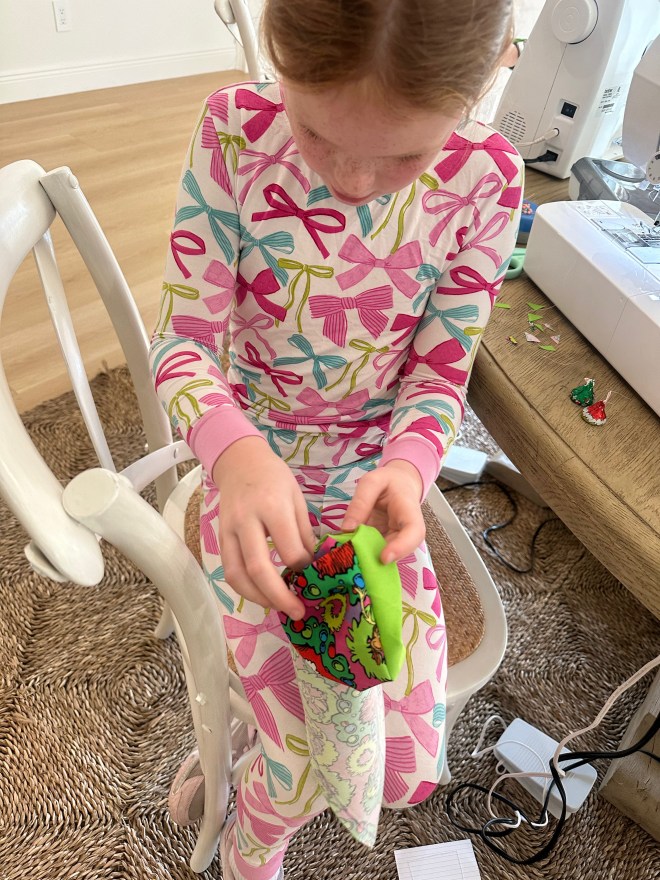
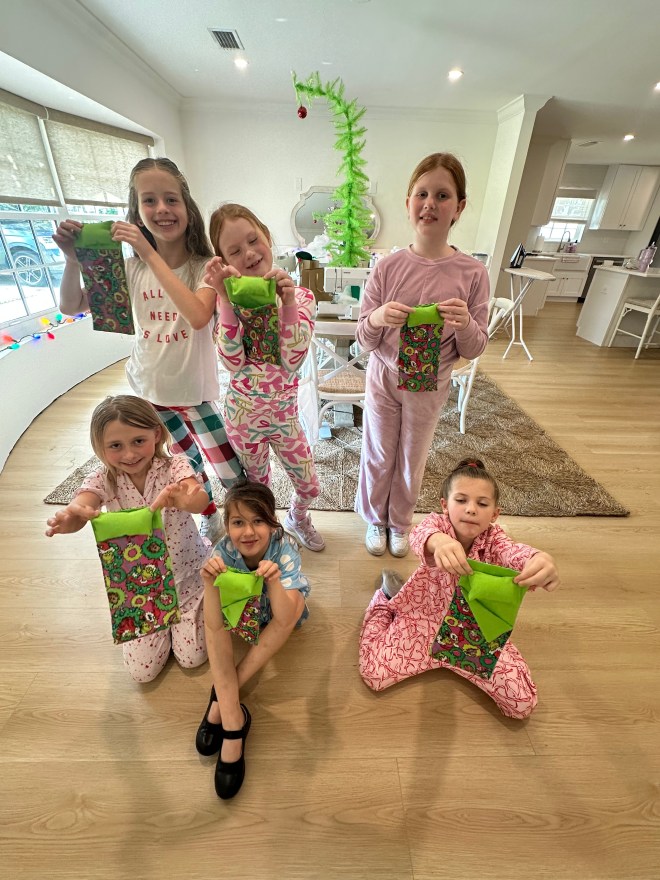
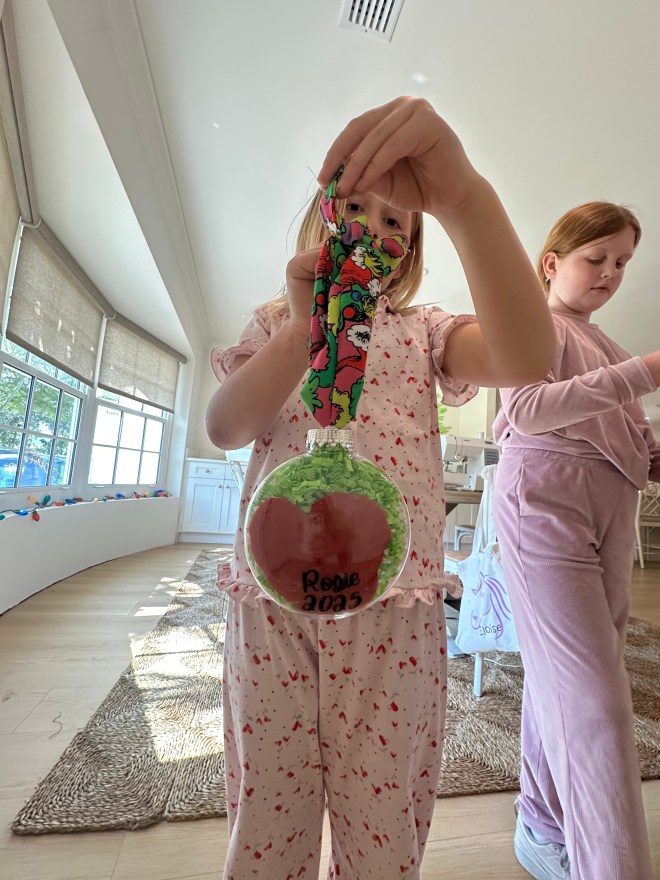
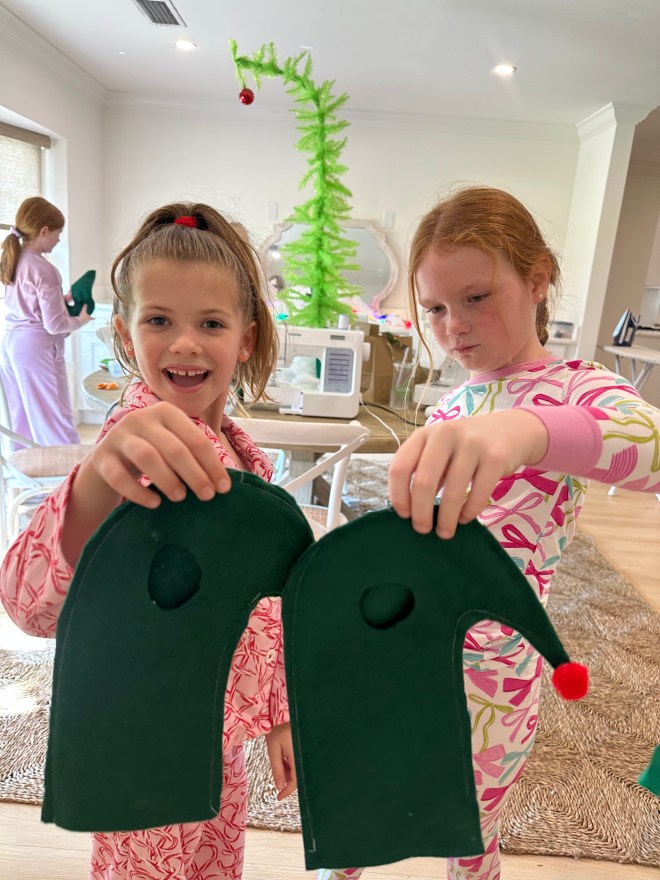
What a great group of girls! We had a blast stitching up a sleeping bag and costume for our elves as well as a ribbon for our Grinch ornament.
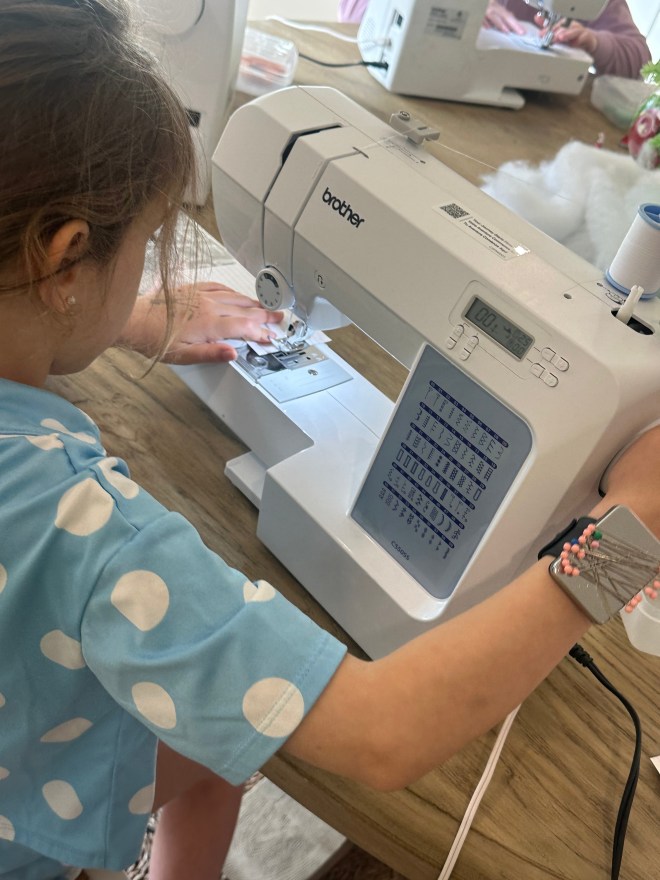
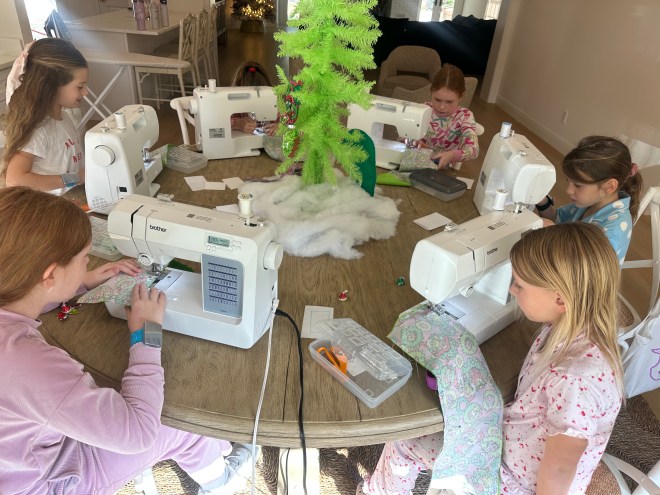
I had three girls who had never used a sewing machine before. So…we started off getting acclimated with our machines. Once they felt comfortable with the different parts of the machine we “warmed up” using a note card. We practiced following the lines and getting a feel for the machine.
Part of our warm up included learning how to pivot. We would have to use this skill when making our sleeping bags and pillows, so we practiced that on our notecards too!
Once we became experts in pivoting we hit the ground running with our projects. We started off with the sleeping bag and pillow for our elves.
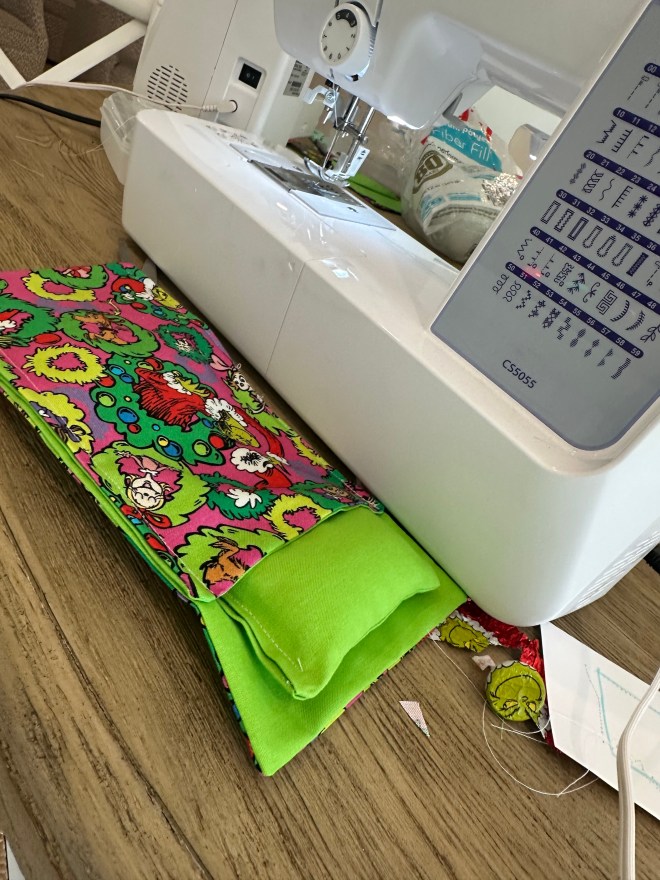
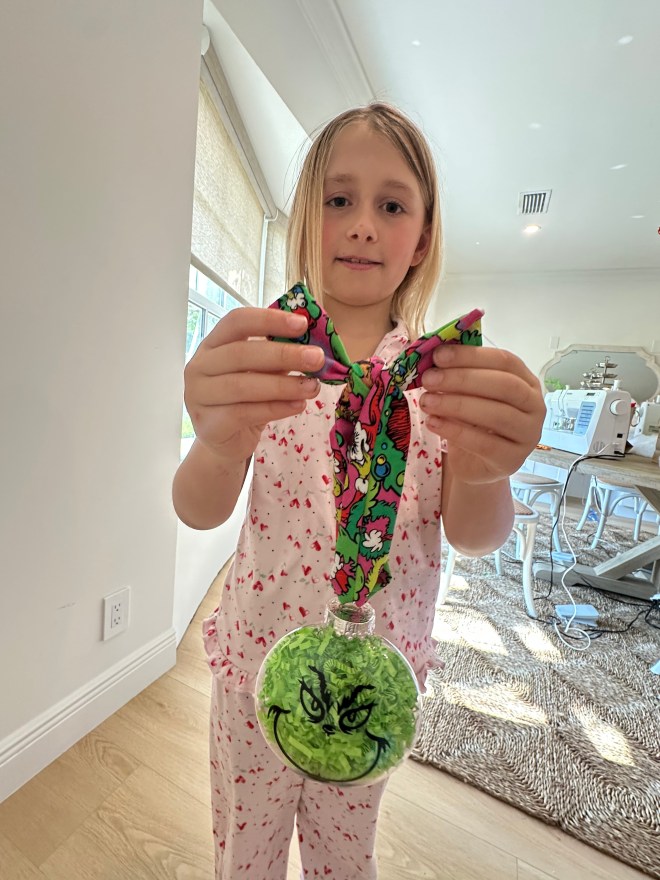
The next project we tackled was the ribbon for our ornaments. We stitched down the sides, turned it right side out, ironed and finished it off by folding in the raw edges at the end of each side and closing them up. It was quick and easy and made our ornaments look extra fancy. We filled our ornaments with crinkle paper and cut a heart out of red felt to put inside as well. I put each girls name and the date on the back. I love pulling out old ornaments that my kids have made, and looking to see when they made it!
Before our last project we took a break and ate some snacks. We had stitched up quite an appetite!
Lastly, we created a Grinch Tree costume for our elves.
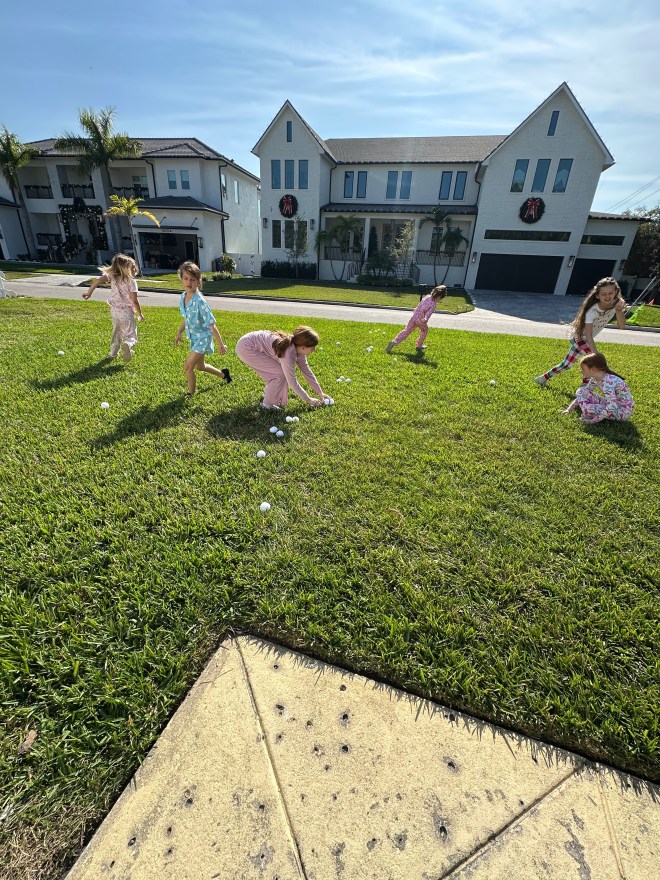
We ended the class with a snowball fight in the front yard!
Cheers to the beginning of a wonderful holiday season and a great group of girls! Well done girls!
Don’t for get to subscribe to get the latest information on workshops and camps!
It’s the most wonderful time of the year! I love hosting Christmas sewing parties! Sewing parties are meant to cater to all skill levels. Students learn basic sewing skills and how to operate their machine. I provide all materials and machines for sewing parties. If your child has their own machine they are welcome to bring it and practice using it, but it is not required to have your own machine. Scroll down to view and learn how to register for our holiday sewing parties! Space is limited.
*NEW DATES*: Saturday, Dec 6th (4:30-7:30) and Saturday, December 13 (9am-12pm)
When submitting payment please mention which party you wish for your child to attend and email address. If you register for a party and are unable to attend you are responsible for finding someone to take your child’s place.
Saturday, December 6 GRICHMAS registration closes 11/30
Time 4:30-7:30
Come make a sleeping bag, pillow, ornament, and grinchmas tree costume to welcome our elf back from the NP! We will also have dinner, dessert and grinch games.
Saturday, December 13 ELFUFU registration classes 12/5
Time: 9am
Cost: $100
Come make a Labubu costume for your elf! He will have so much fun disguising himself as one of those crazy, adorable creatures. We will also make an ornament, hammock/pillow for our elf from adorable Christmas Labubu fabric! Breakfast will be served!
I am so excited to host the 9th year of summer sewing camp! There will be 4 full weeks of sewing camp and One “mini” week. The cost of a full week is $315. The “mini” week will be $135. All levels welcome at every camp as I do try and choose projects beginner friendly for everyone!
Students are responsible for buying fabric and some supplies for their projects, unless otherwise noted. I will provide the basic supplies and sewing machines for students enrolled. They are also welcome to bring their own machine too! The supply lists will be sent out mid-May. Sewing camp will run from 9am-12pm everyday and students are to bring a snack and water bottle.
To register… Venmo $315 for a full week and $135 for the “mini” week to…
Sarah-Boyd-23. In the “notes” please put the date/theme of the camp you wish for your child to attend as well as your email address and child’s name and t-shirt size (Youth small, medium or large or Adult small, medium or large). Space is limited. If you are unable to make it to sewing camp you are responsible for filling your spot. If the session fills up I will venmo you back to let you know. SEE CAMP Descriptions/Projects and Dates BELOW.
Around the World Mini Week 3 spots left
Around the World “mini” Camp- June 12 and 13
Time: 9-12
Cost:$135
We will “travel” from country to country stitching up projects that remind us of each one! We will choose two projects to make from this list!
Around the House FULL
Around the House- June 16-20.
Time:9-12
Cost: $315
We will make things we can use in and around the house. These items will include coasters, gift card holders, a bow throw pillow, jewelry pouch and standard size pillow case!
On the Go FULL
On the Go! July 7-11.
Time:9-12
Cost: $315
We will be stitching up some travel essentials this week. We will be making a neck pillow, drawstring backpack, snack bag, luggage tag and art folio. All are perfect to take on the go!
Summer Vibes FULL
Summer Vibes Camp- July 21-25.
Time 9-12
cost: $315
Nothing says summer like sweet treats and game nights! We will be making an ice cream and popsicle koozie, tic-tac-toe game, card holder, card kitty and bag to store them all in! We will also play games and make ice cream!
Around the World July 28-August 1 4 spots left
Dates: July 28-August 1
Cost: $315
We will travel from country to country stitching up items specific to those countries. We will also cook and create things using what we’ve made!
Scroll down to view and learn how to register for our holiday sewing parties!
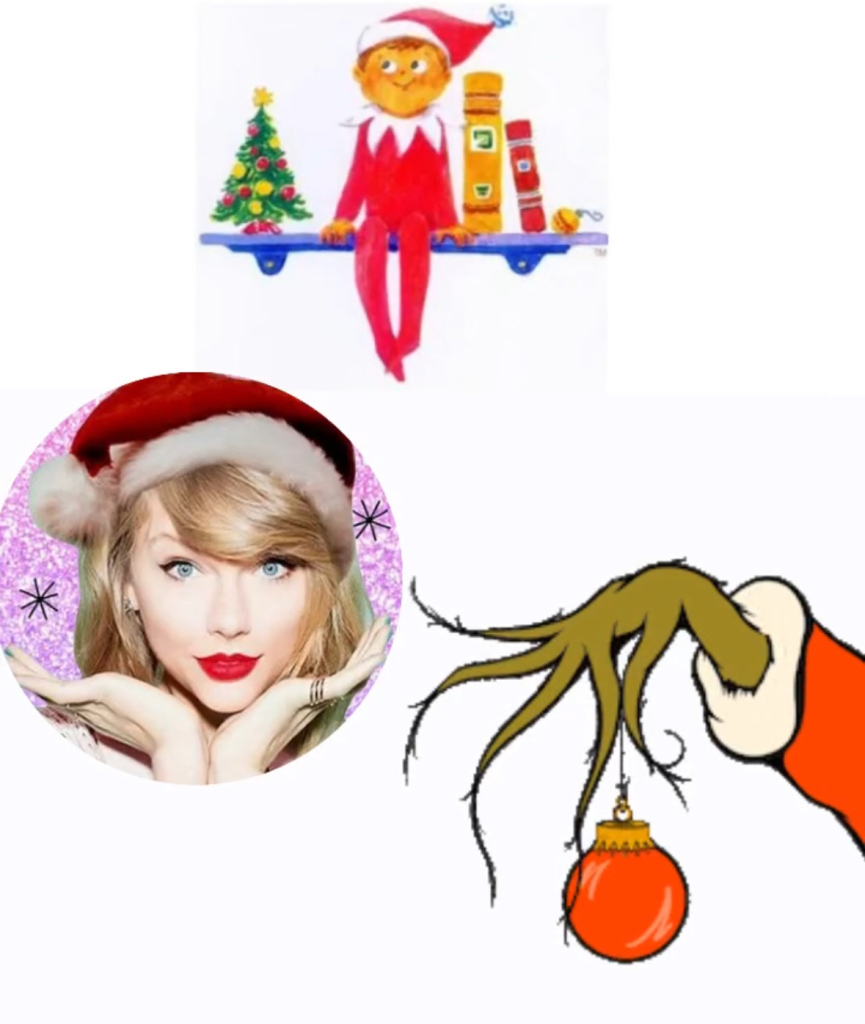
Friday, November 22nd-Swiftmas. Monday, November 25-Elf on the Shelf and Taylor Swift. Tuesday, November 26-Elf on the Shelf/Grinch
When submitting payment please mention which party you wish for your child to attend and email address.
Merry Swiftmas-Nov 22nd
FULL
Come make a throw pillow to decorate in true Swiftmas style. We will make Taylor Swift inspired 18″ x 18″ throw pillow, ornament, enjoy hot cocoa, pizza and games.
Time 4pm-7pm
cost $95
All you have to bring is yourself!
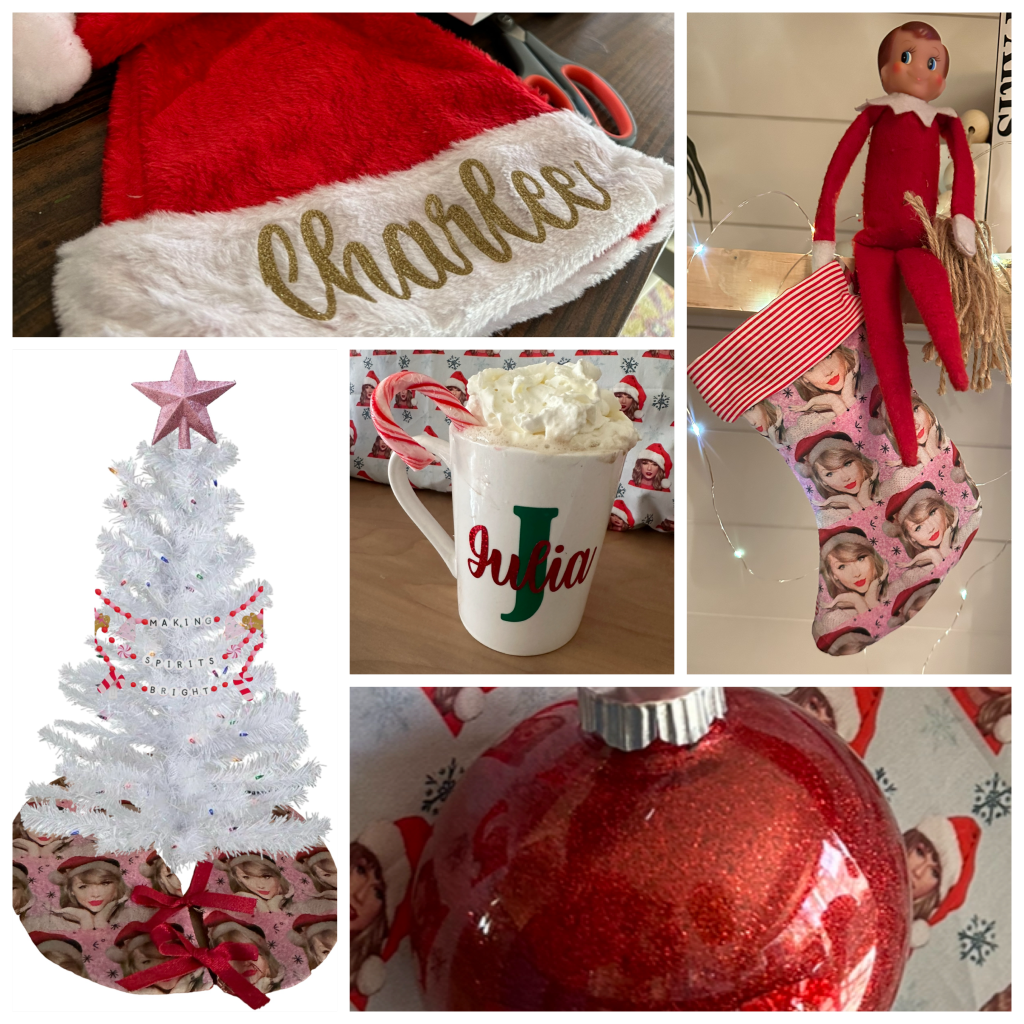
Elf on the Shelf and Taylor Swift-Nov 25
FULL
The Elf is teaming up with Taylor! We will make a tree skirt, stocking from our Taylor Swift fabric and decorate our mini Christmas trees to help welcome our elves from the NP! We will also enjoy some snacks and games!
Time:9-12
Cost:$95
All you need to bring is yourself!
The Elf and Grinch! Nov 26
FULL
We will make a sleeping bag, pillow grinchmas tree costume and ornament to welcome our elf back from the NP! We will also make some grinch snacks and beverages!