
School is right around the corner and these snack bags are the perfect back to school project! This easy to follow tutorial is great for beginning sewers and will have you pumping out snack bags before you can say, “Back to School!” Not only are these little bags cute, but you can do your part to help save the planet!
According to onegreenplanet.org “Every year, the average person uses nearly one pound worth of plastic sandwich bags. We know, we know … that doesn’t sound like it’s that big of a deal. But if we were to break that down into quantities, that would be a total of 540 plastic baggies a year that we use only once.” Read more here… https://www.onegreenplanet.org/environment/cut-sandwich-bag-waste-save-oceans/
That’s a lot of baggies! So get your stitch fix, makes some cute, customizable snack bags and help save our planet!
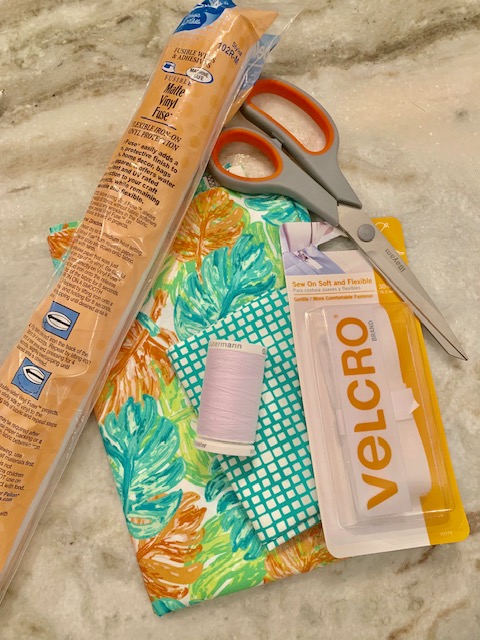
Materials:
- Outside cotton fabric (fun pattern!)
- Coordinating cotton liner fabric
- Iron-on vinyl (fabric store or amazon)
- Sticky Velcro or Sew On Velcro
- Coordinating thread
- Cut all of your pieces.
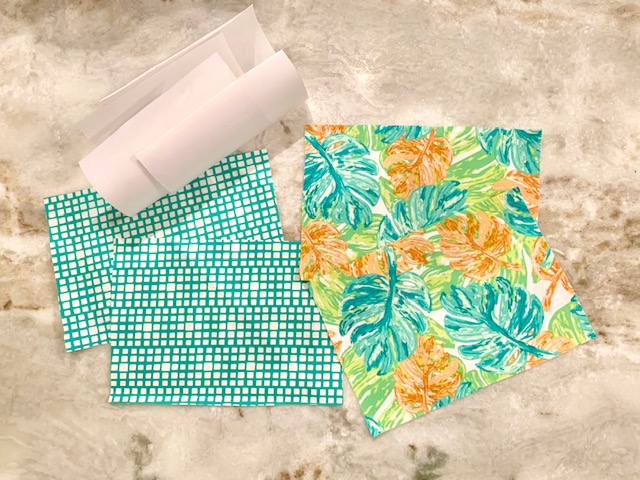
- For the large (sandwich) sized bag, cut two pieces of each fabric and
the vinyl into 6-1/2″ squares.
- For the smaller version, cut into 6-1/2″ x 4-1/2″ pieces. You can actually cut any size you’d like…make ’em bigger or smaller!
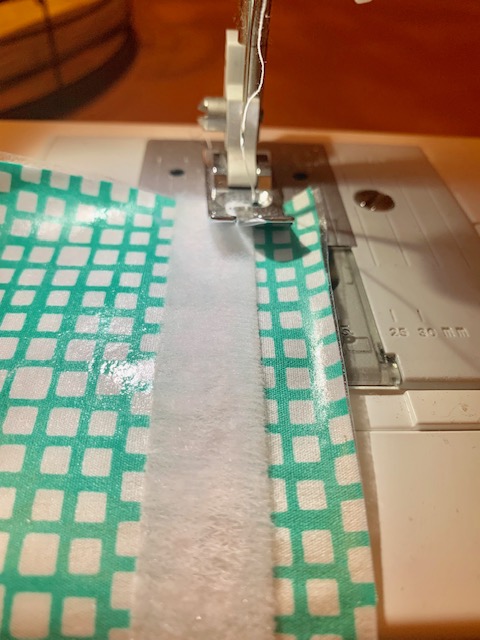
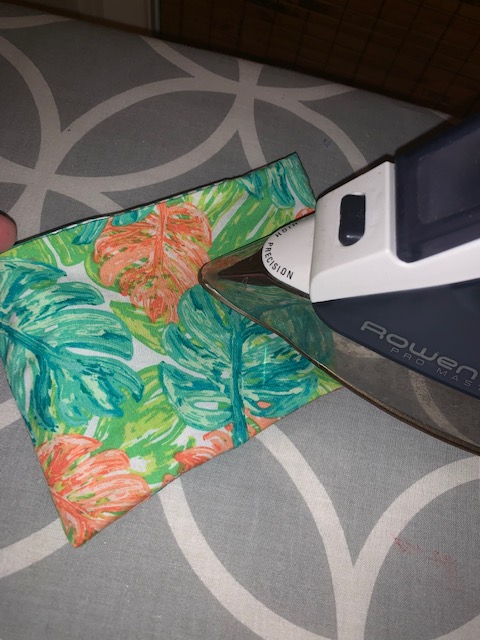
- Heat your iron to medium/wool setting. To attach your vinyl, pull the vinyl off the backing.
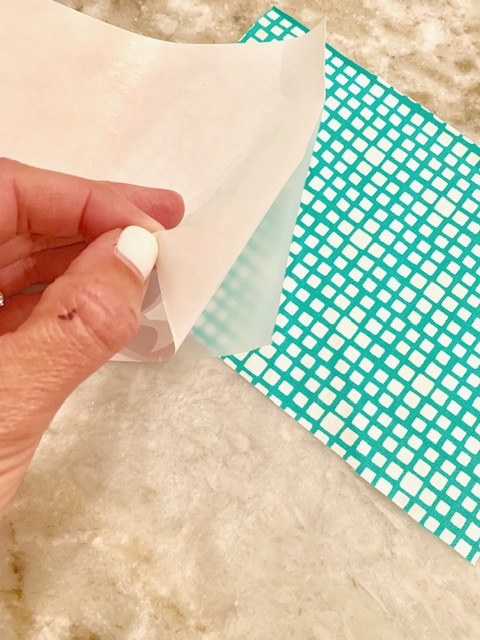
- Line it up, tacky side down, on one of the liner fabric pieces.

- Place the backing paper back over the vinyl and iron for 15-20 seconds over the entire piece of fabric. Be careful not to touch the hot iron on the vinyl. It will melt it!

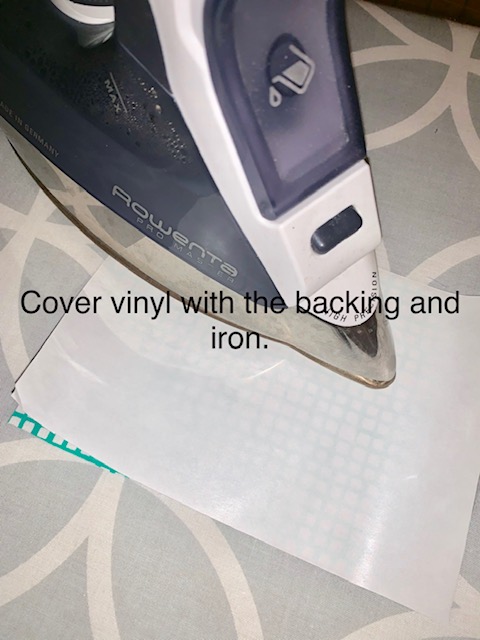
- Peel the backing off the fabric and wahooo…you have a vinyl-coated piece of fabric!
- Repeat with the second piece of lining fabric and vinyl.
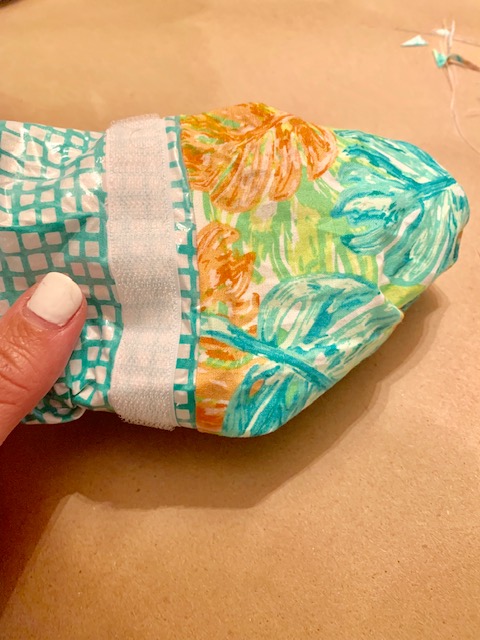
- Next, stick one half of the velcro strip 3/4″ from the top of the vinyl-coated side of one of the pieces of lining fabric.

- Repeat with the other piece of lining fabric and the other half of the velcro.
- Using coordinating thread, sew all the way around the velcro on each piece, starting and stopping in the same place.
- Repeat with the other lining piece.
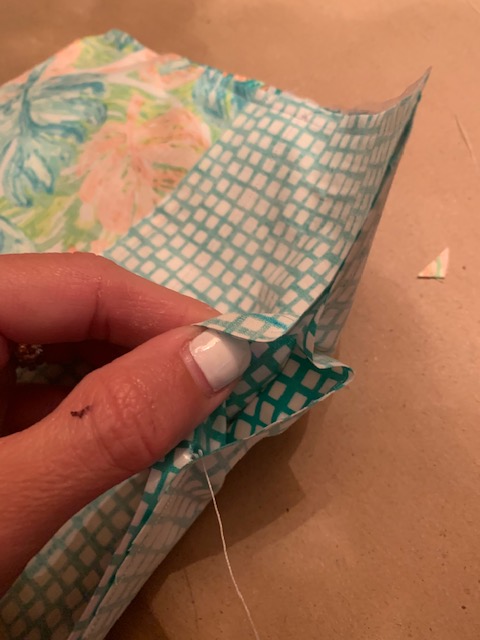
- Pin one piece of lining fabric with velcro to one piece of outside fabric, right-sides together.

- Sew along 1/4″ from the top.
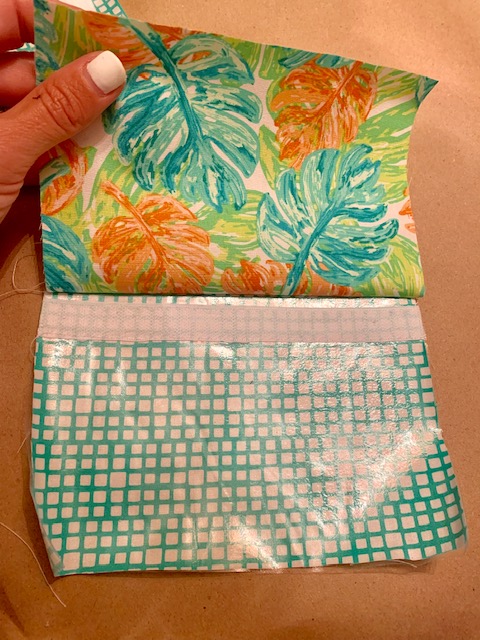
- Repeat with other lining and outside fabric piece.
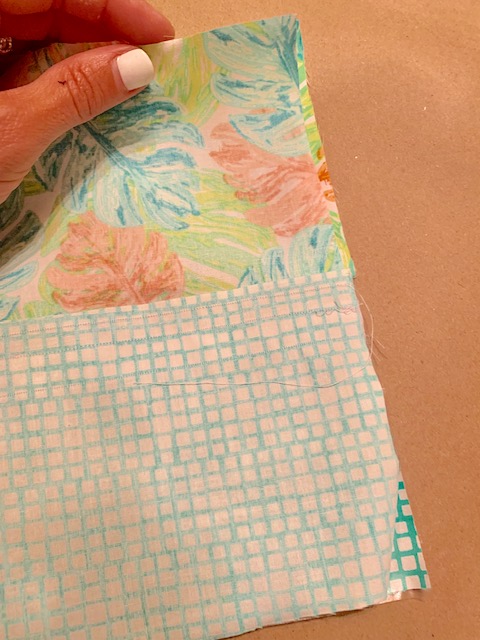
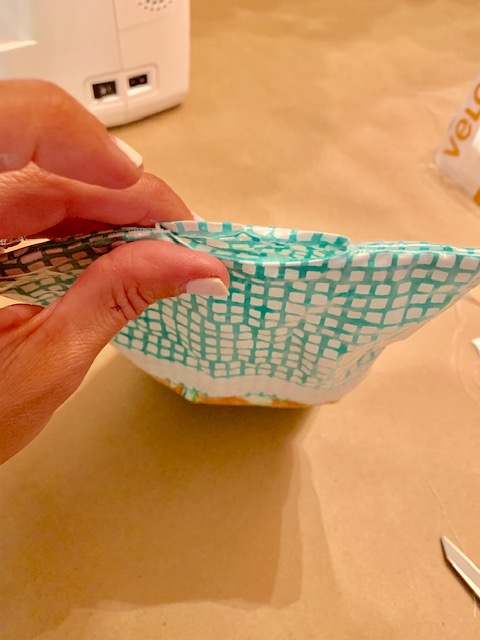
- Open up both pieces and finger press them. You don’t want to iron these at this step because the vinyl will melt. Pressing the seam down with your finger will do the trick!
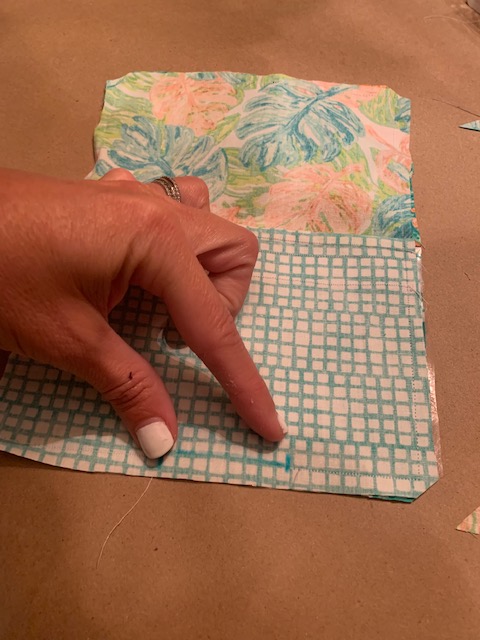
- Put together both pieces, right sides together, matching up the seams and velcro.
- Sew around the perimeter of the piece, starting at the bottom of the lining fabric.
- Leave open a 2″ space at the bottom of the lining fabric for turning.
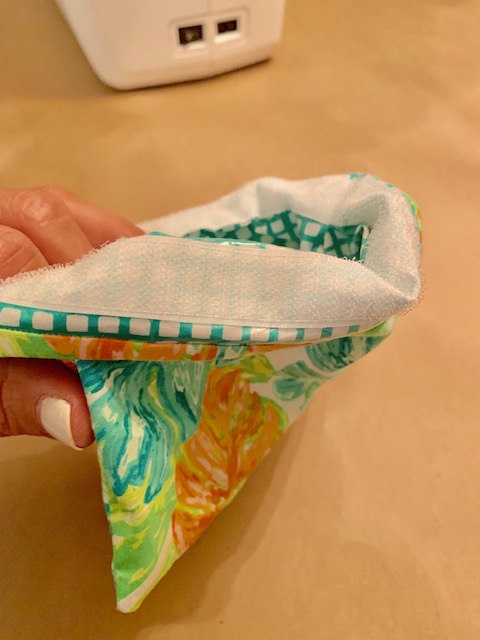
- Turn the bag right-side-out through the opening in the bottom of the liner. This can be quite the feat, but you can do it! Poke out all the corners!
- Next up, close the opening in the bottom of the liner. Fold in and create a seam.

- Just about done! Push the liner into the outside fabric.
- Take a light iron to the outside. Make sure you pull apart the liner immediately after ironing, the vinyl will stick together a bit.
- To clean, turn inside out and wipe down. If it gets really dirty, toss it into the washer and air dry.

Congratulations on stitching up a cute snack bag! And…thanks for helping in the efforts to save our planet!
