What elf wouldn’t want to dress up as a Gingerbread boy/girl while visiting from the North Pole? This tutorial will guide you through making a gingerbread costume for your elf. It’s quick, easy and will bring a smile to your little one’s face.
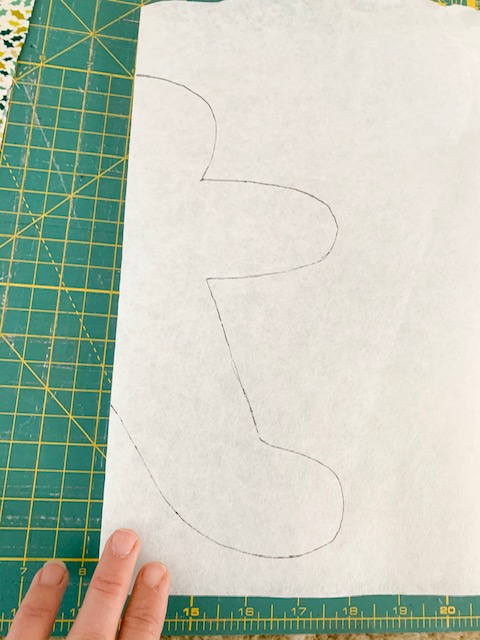
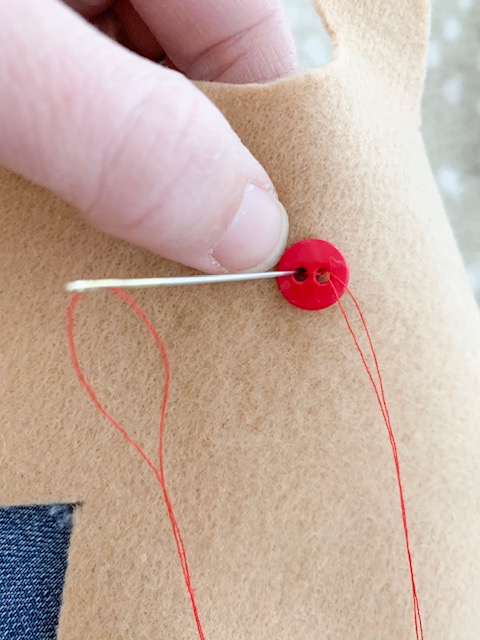
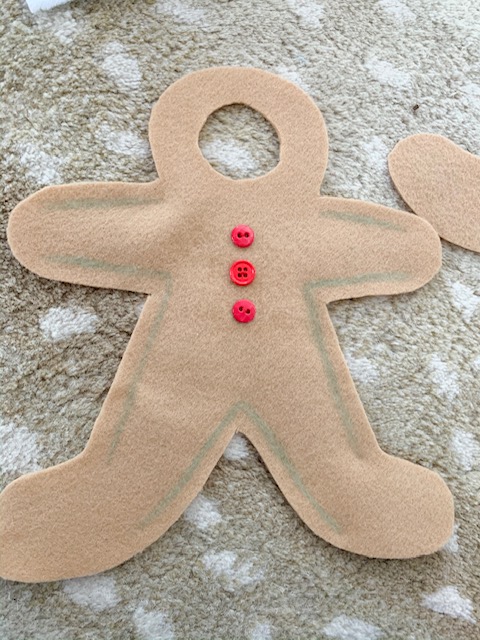
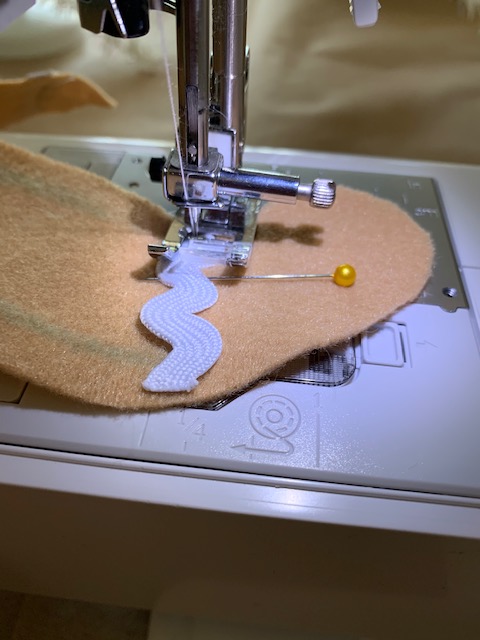
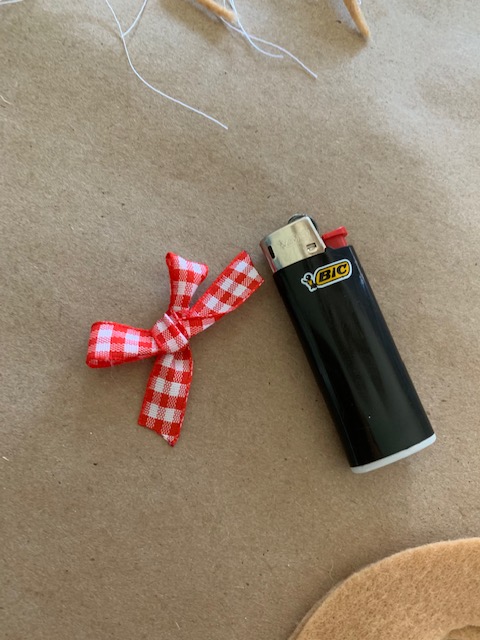
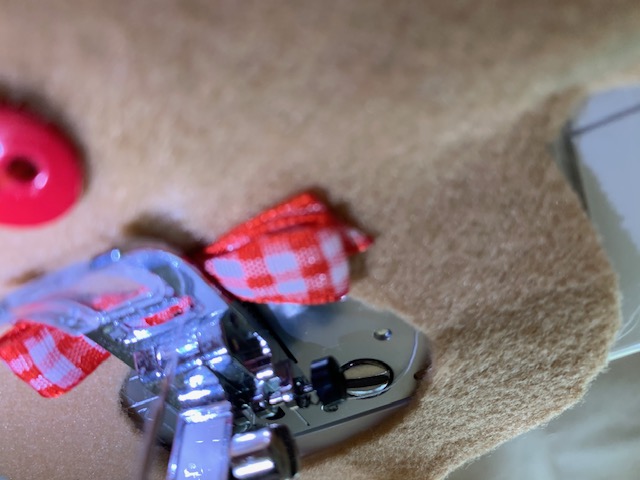
Print out your pattern. The pattern is a little larger than a standard size paper. You can use pattern paper or tissue paper. Fold the paper, trace and cut out the gingerbread man.Pin the pattern into place and cut around the gingerbread pattern.Sew your buttons.Use your fabric pen to mark the gingerbread boy. These lines will guide you in sewing the two pieces of felt together (not yet though!).Sew your ric rac into place. I use a lighter to burn the end of the ric rac to prevent it from fraying.Now place your two pieces of felt together, pin into place and sew on the lines.Make a bow and burn the edges to prevent the ends from fraying.Sew your bow into place.
Viola! You now have a gingerbread costume for your Elf! Pin the bow onto the head if your elf is a girl!
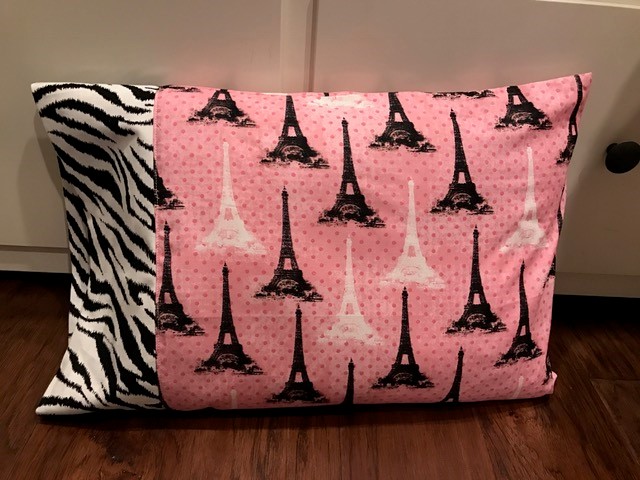
Cut cuff/border fabric using the pattern. (Given in Camp)
Cut a rectangle from the main fabric using the pattern. (Given in Camp)
After you cut the fabric…
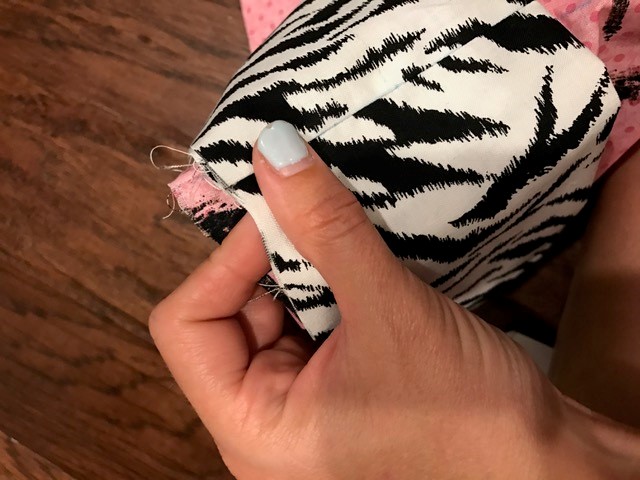
Take the main part
of the fabric and put rights sides together.
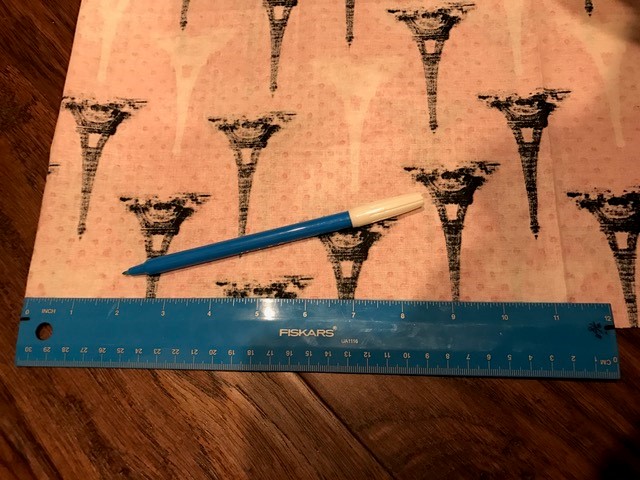
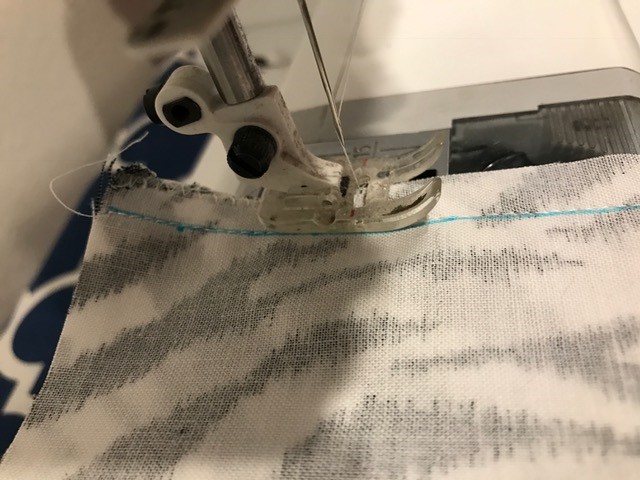
Mark 3/8” using your invisible pen and
ruler.
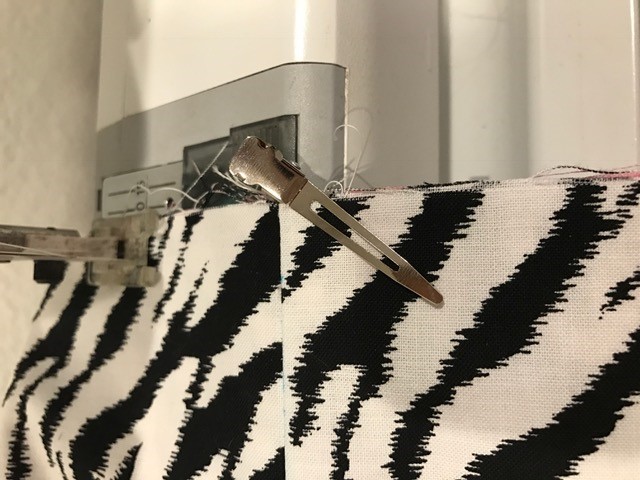
Clip with alligator pins or straight
pins. Sew down each side.
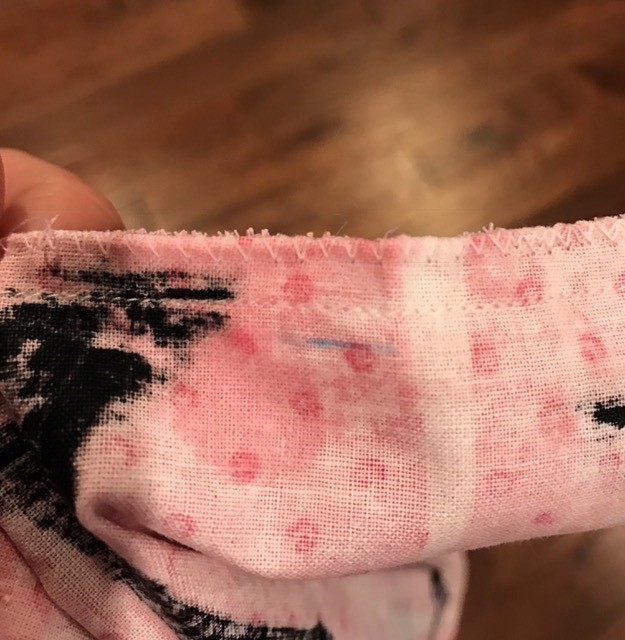
Finish with a zig zag stitch and wet the
invisible pen marks on your pillowcase.
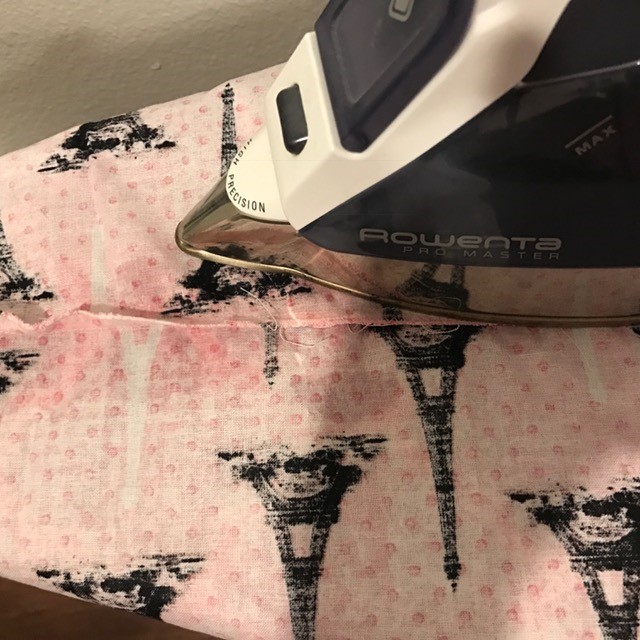
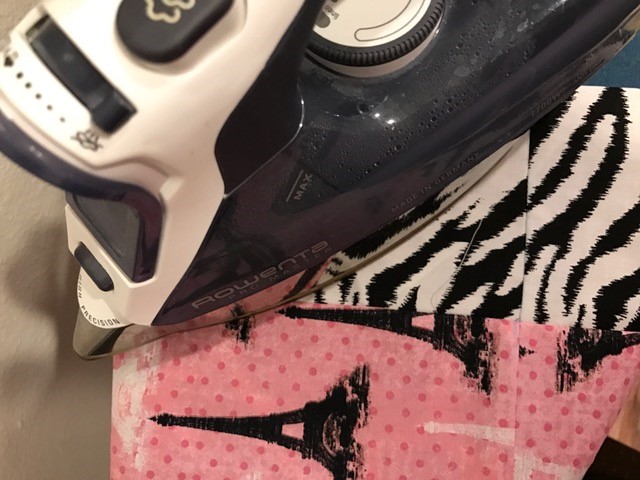
Press seams.
Take the border/contrasting fabric and
fold with right sides together and sew.
Finish with a zigzag stitch.
Press the seam.
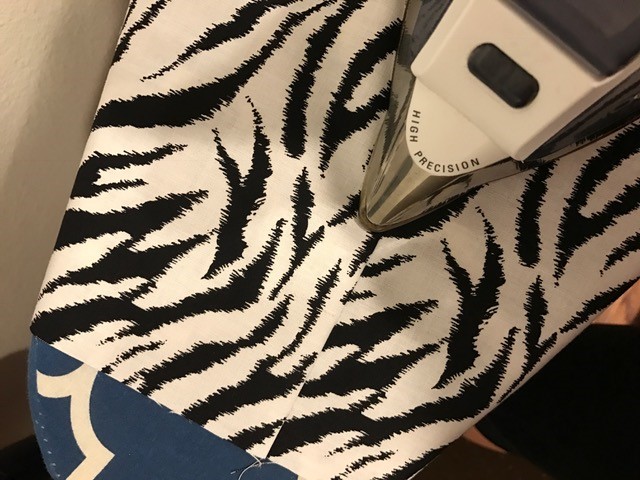
Fold the cuff/border fabric in half and press.
Place the folded border/contrasting fabric
on the right edge of the vertical rectangle with all edges of the border fabric
lined up with the main fabric.
-1 package of heat and bond fusible
fleece. (optional)
For this project, the bottom of the bag is 15 1/2 inches wide and the sides 16 inches long. You can make it any size. You would just need to adjust fabric requirements.
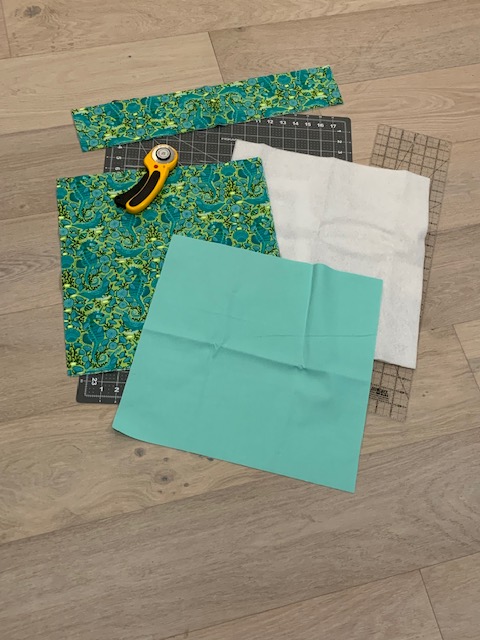
1. Cut two 15 ½” x 16” pieces (outside)
2. Cut two 15 ½” x 16” pieces (inside)
3. Cut one 4” x 44” of fabric (outside
fabric). Then cut it in half. This will be your handles.
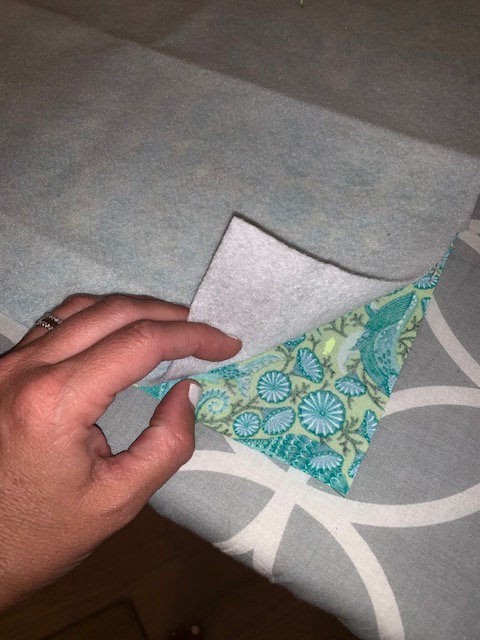
4. Cut two pieces of fusible fleece (15 1/2 x 16 1/2) This is optional if you want your tote to be stiff.
Now take the 4” x 44” piece…
-Fold fabric in half and press.
– Then fold both sides to the middle crease and then over again.
-Top-stitch down each side of strap close to the edge.
Now take your outside and inside pieces of fabric…
-If you want your bag to be stiff you need to use the heat and
bond stabilizer. If you want your bag to be floppy you will skip this step.
Iron the rough side of the stabilizer to
the wrong side of the fabric you will use for the outside of your bag.
-Lay inside fabric right sides together and sew on three sides.
Leave one side open for the top!
-Next, sew your outer fabric pieces right sides together on three
sides.
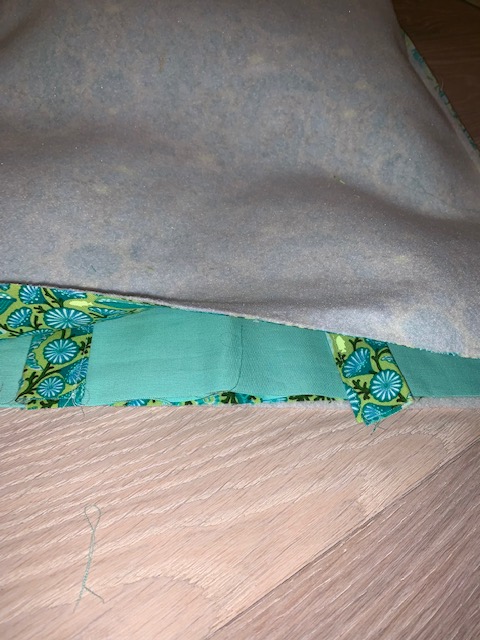
-Now we are going to “box” the corners of the bottom of the bag. To do this pinch the corner, iron and sew 1 ½ “ from the corner. You will do this for both the inside and outside.
-Press seems
– Place inside fabric inside the outside fabric right sides together.
I slipped the inside fabric up a bit so you can see how it slips in.
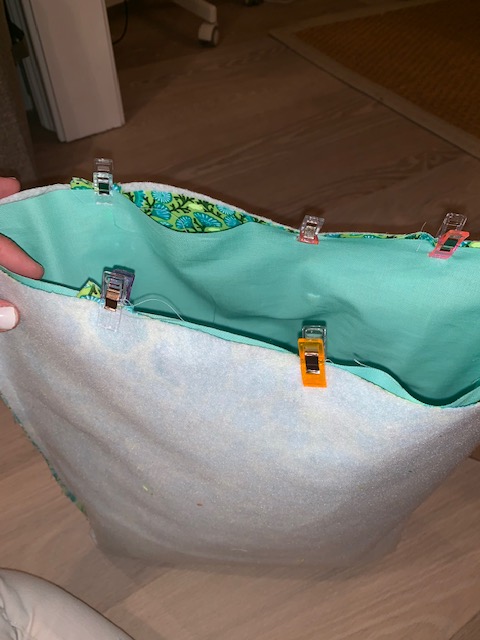
– Place straps in between right sides of fabric on each side about three inches from the side edge.
– Pin or clip
straps and the top edge of bag well. Stitch around the top of bag 1/2 inch from
the edge. Leave a 3 inch opening. We will need an opening to be able to turn
the bag right side out!
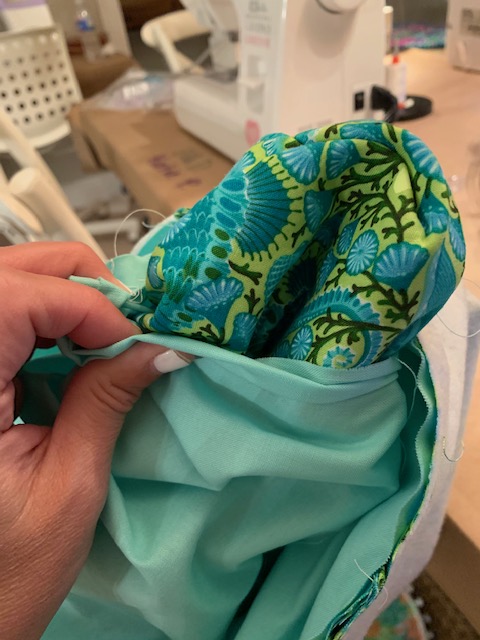
-Turn bag right
side out and press with an iron.
-Close up the opening used for turning.
-Top stitching not only makes your bag look more finished, but
also makes the seams more durable.
Here’s
what you need to make your own washcloth travel kit:
Washcloth or hand towel
12″-18″ of washable ribbon
fabric pen
ruler
sewing machine
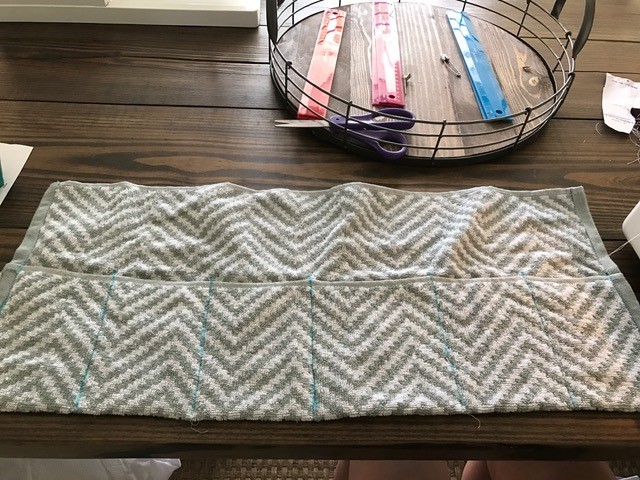
Start
by folding the bottom of the washcloth about halfway to the top.
Use your fabric pen and ruler to mark your “pockets.”
Then
sew a few straight lines using your markings as your guide up the ends and middle
to create “pockets”.
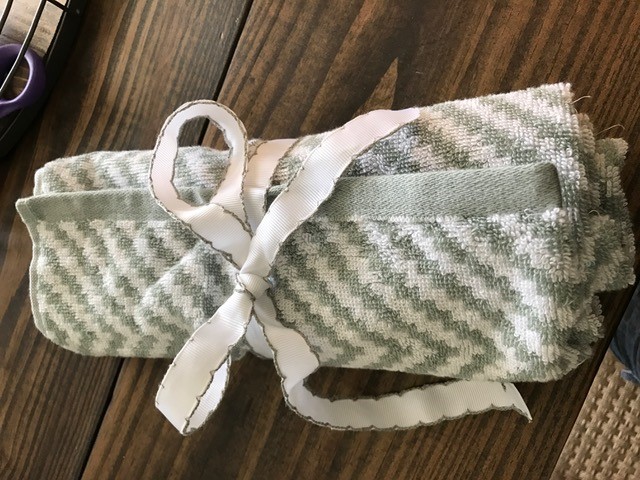
Flip the washcloth over and attach the middle of the ribbon to one edge of the washcloth, about halfway up. Wet the cloth to “erase” all of the fabric pen marks.
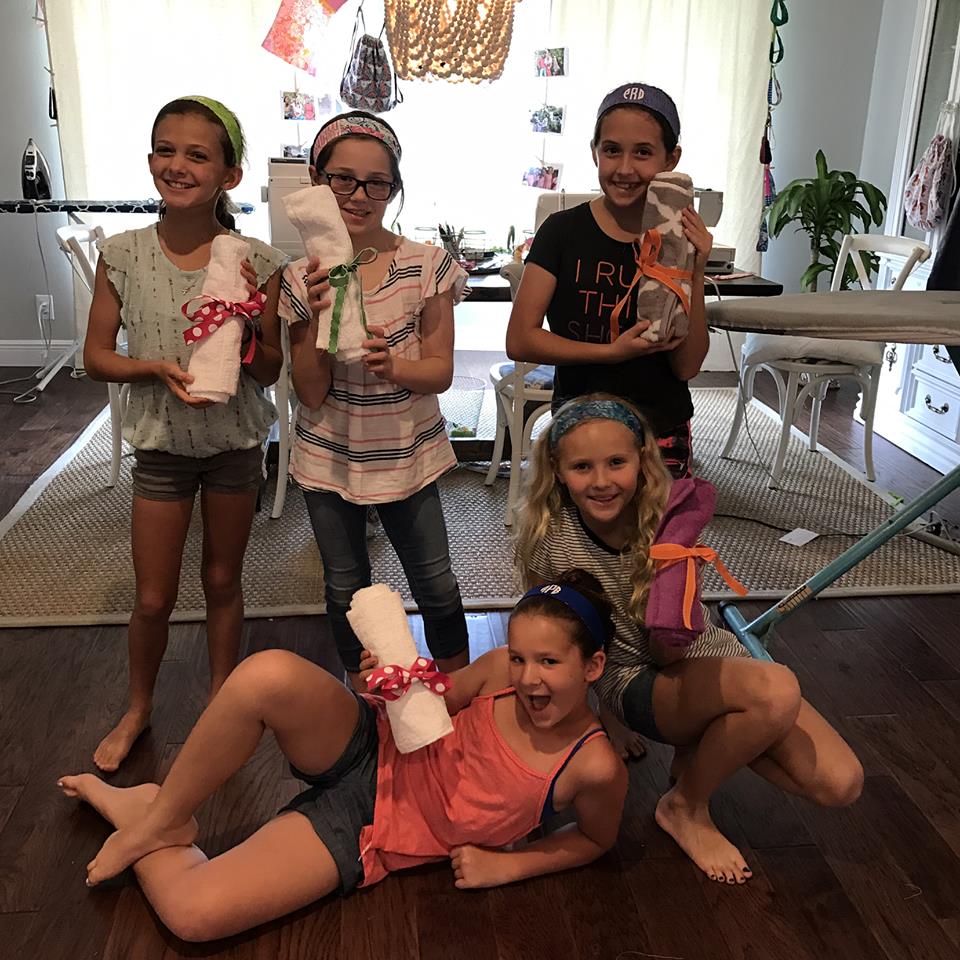
Congrats! You now have your very
own travel washcloth kit!